Introduction
The AWS Command Line Interface (CLI) is a powerful tool that enables developers and system administrators to manage AWS services directly from the terminal. This article will guide you through the process of installing the AWS CLI on macOS using Homebrew, a popular package manager for macOS.
Introduction
Homebrew simplifies the installation of software on macOS, providing a straightforward method to install, uninstall, and manage packages. The AWS CLI is one of the many packages available through Homebrew, allowing users to easily set up their AWS environment on a macOS machine.
Prerequisites
Before proceeding with the installation of the AWS CLI using Homebrew, ensure you have the following:
- A macOS system
- Access to a terminal
- Homebrew installed on your macOS. If you don’t have Homebrew installed, you can install it by running the following command in your terminal:
/bin/bash -c "$(curl -fsSL https://raw.githubusercontent.com/Homebrew/install/HEAD/install.sh)"
Step 1: Update Homebrew
It’s a good practice to update Homebrew to ensure you have access to the latest versions of packages. Open your terminal and run the following command:
brew update
This command updates the list of available packages and their versions.
Step 2: Install AWS CLI
With Homebrew updated, you can now install the AWS CLI. Execute the following command in your terminal:
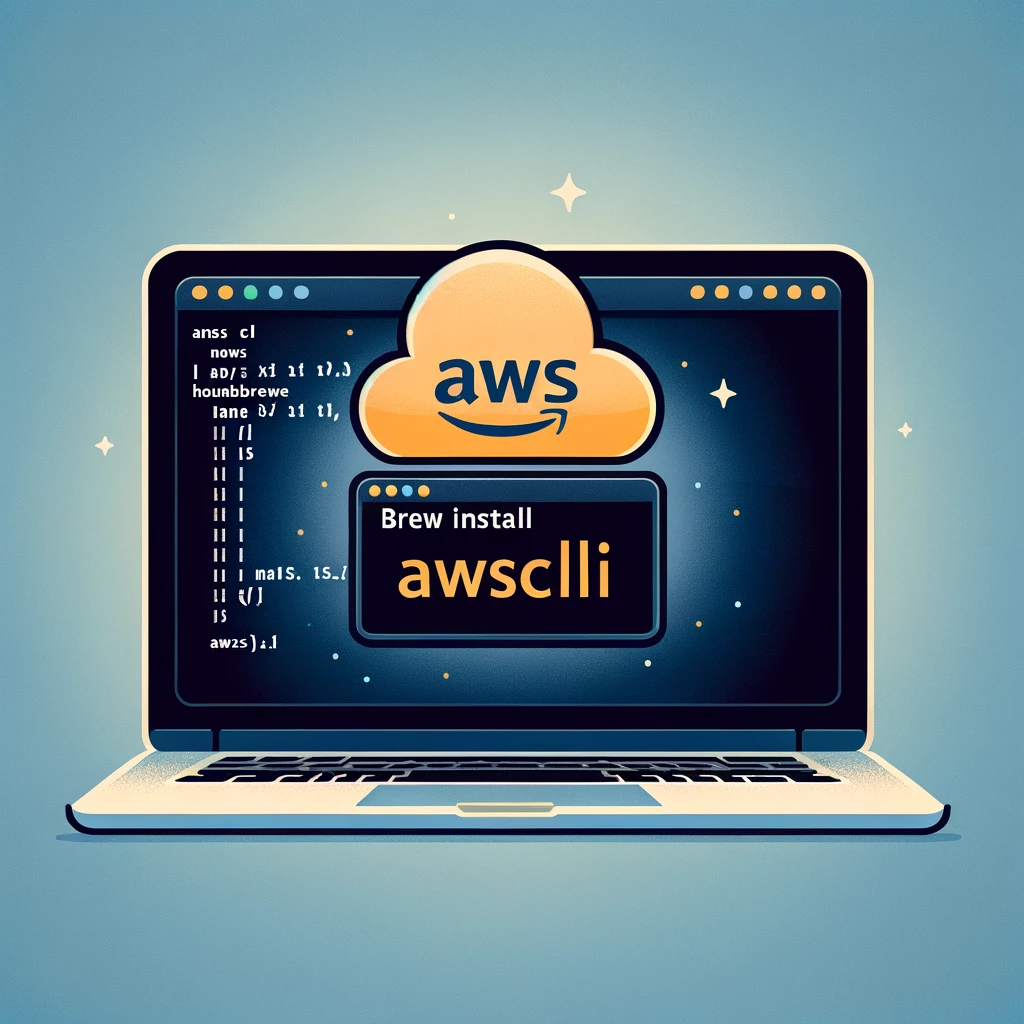
brew install awscli
This command downloads and installs the AWS CLI and any required dependencies. The process may take a few minutes depending on your internet connection speed.
Step 3: Verify Installation
Once the installation process is complete, verify that the AWS CLI is installed correctly by running:
aws --version
This command should display the version of the AWS CLI installed on your system, confirming that the installation was successful.
Step 4: Configure AWS CLI
After installing the AWS CLI, the next step is to configure it with your AWS credentials. Run the following command to start the configuration process:
aws configure
You will be prompted to enter your AWS Access Key ID, Secret Access Key, default region name, and output format. These credentials are necessary for the AWS CLI to interact with your AWS account.
Links
Conclusion
You have successfully installed and configured the AWS CLI on macOS using Homebrew. You can now use the AWS CLI to manage your AWS services directly from your terminal. Whether you are automating deployments, managing resources, or querying AWS services, the AWS CLI provides a versatile and efficient way to interact with AWS.
For more information on using the AWS CLI, consult the official AWS documentation or explore the aws help command to discover more about the capabilities and available commands of the AWS CLI.